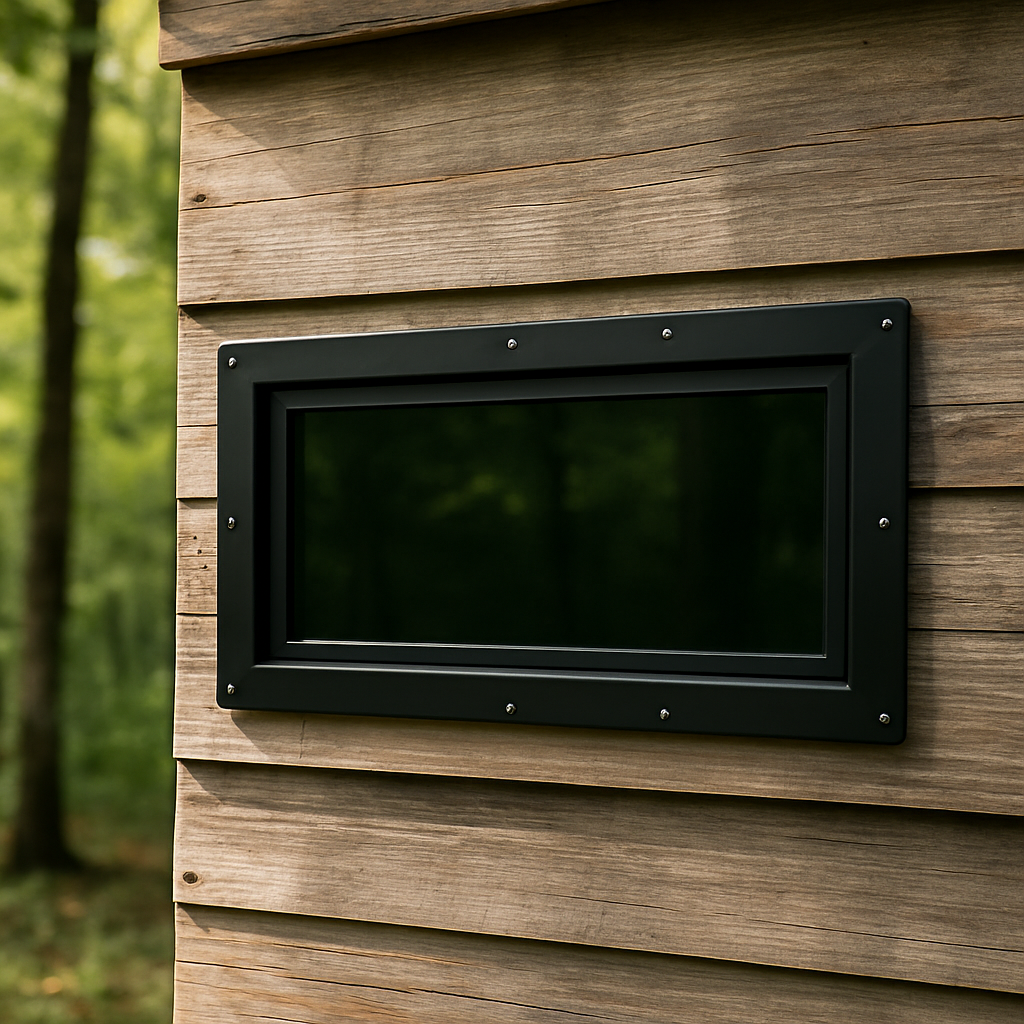
Installing a hunting blind window is the kind of project that looks intimidating until you've done one — then it's a 30-minute job that any hunter with basic tools can knock out in an afternoon. This is a step-by-step walkthrough of the field-proven install method, written so you can follow along start to finish without missing anything that matters.
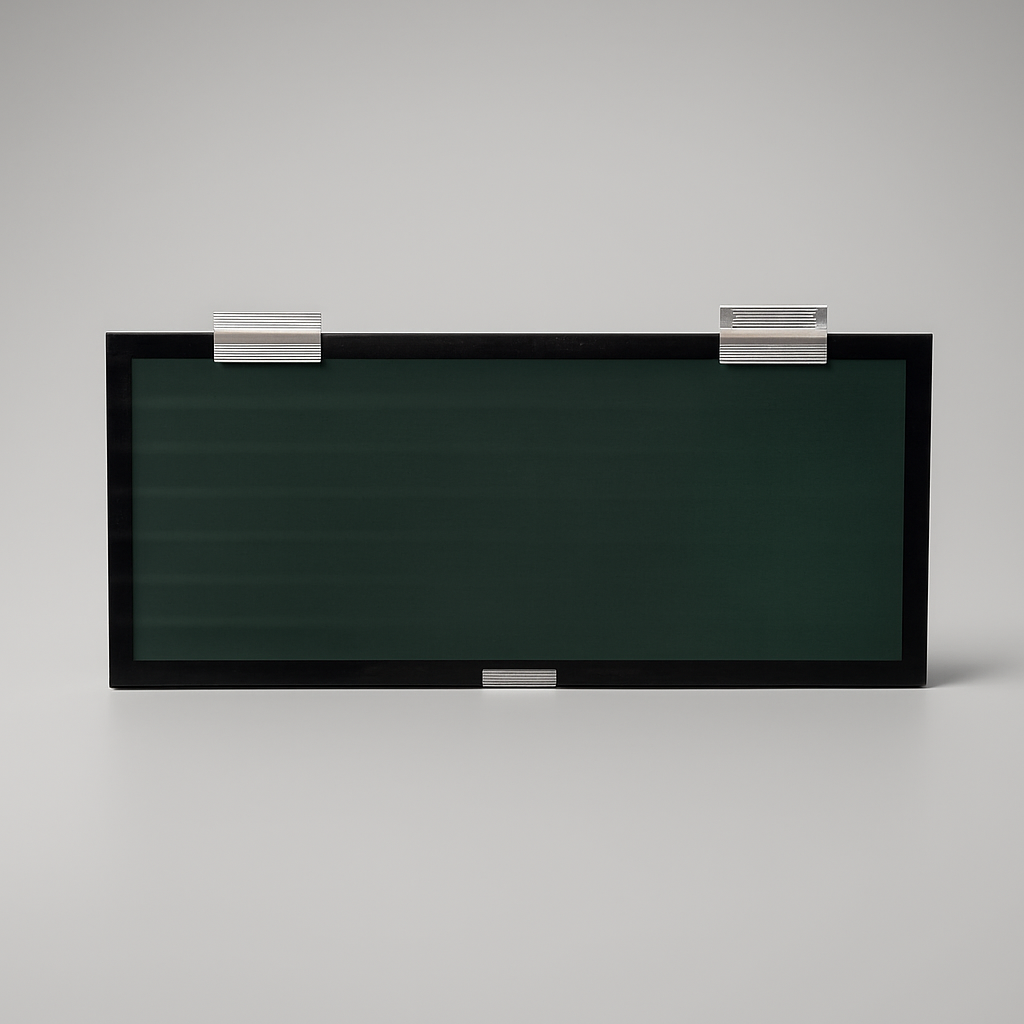
The guide covers both frame windows and glass hinge windows, since the install is 80% the same. Where the two diverge — mostly around the latch and tab-closure step — we'll call it out clearly.
WHAT YOU'LL NEED
▸ TOOLS
- ▸Cordless drill or impact driver
- ▸#2 Phillips bit (and #3 for heavier frame screws)
- ▸Tape measure
- ▸Framing square
- ▸Caulk gun
- ▸Sharp utility knife or scissors (for trimming gasket)
- ▸Pencil or fine-tip marker
▸ MATERIALS (MOST SHIP WITH THE WINDOW)
- ▸Self-adhesive perimeter weather gasket (included)
- ▸Mounting screws — typically #10 or #12 self-tapping (included)
- ▸Tab closures — for glass hinge windows, sold separately or in builder packs
- ▸Exterior-grade silicone caulk (clear or white) — sourced separately
STEP 1: VERIFY THE CUTOUT DIMENSIONS
Before the window comes out of the box, get a tape measure and verify your existing rough opening matches a standard cutout size. The most common cutouts are 24×12, 30×11, 30×14, 30×16, 42×11, and 42×16 — all listed width-by-height.
Measure both diagonals — they should match within 1/4 inch. If they don't, the cutout is out-of-square and you'll need to address it before the window goes in. Use a framing square to identify which corner is off, then sand or shim until the diagonals match.
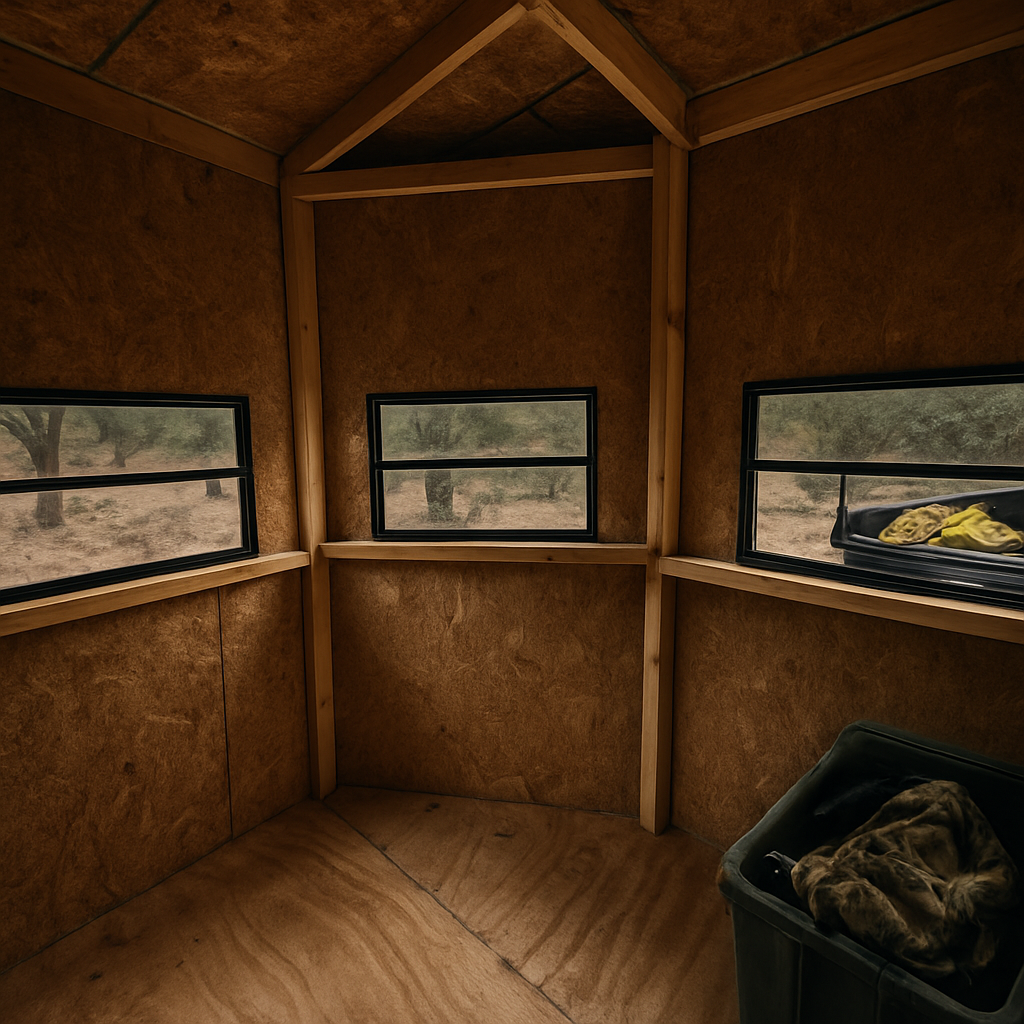
STEP 2: TEST-FIT THE WINDOW WITHOUT GASKET
Pull the window out of its packaging and dry-fit it in the cutout — no gasket, no screws, just hold it in place. The window should sit flat against the inside face of the wall on all four sides. If you see daylight at any corner or edge, mark it.
For frame windows, the frame should make full contact with the wall around the entire perimeter. For glass hinge windows, the hinge plate should sit flush against the wall along its mounting edge.
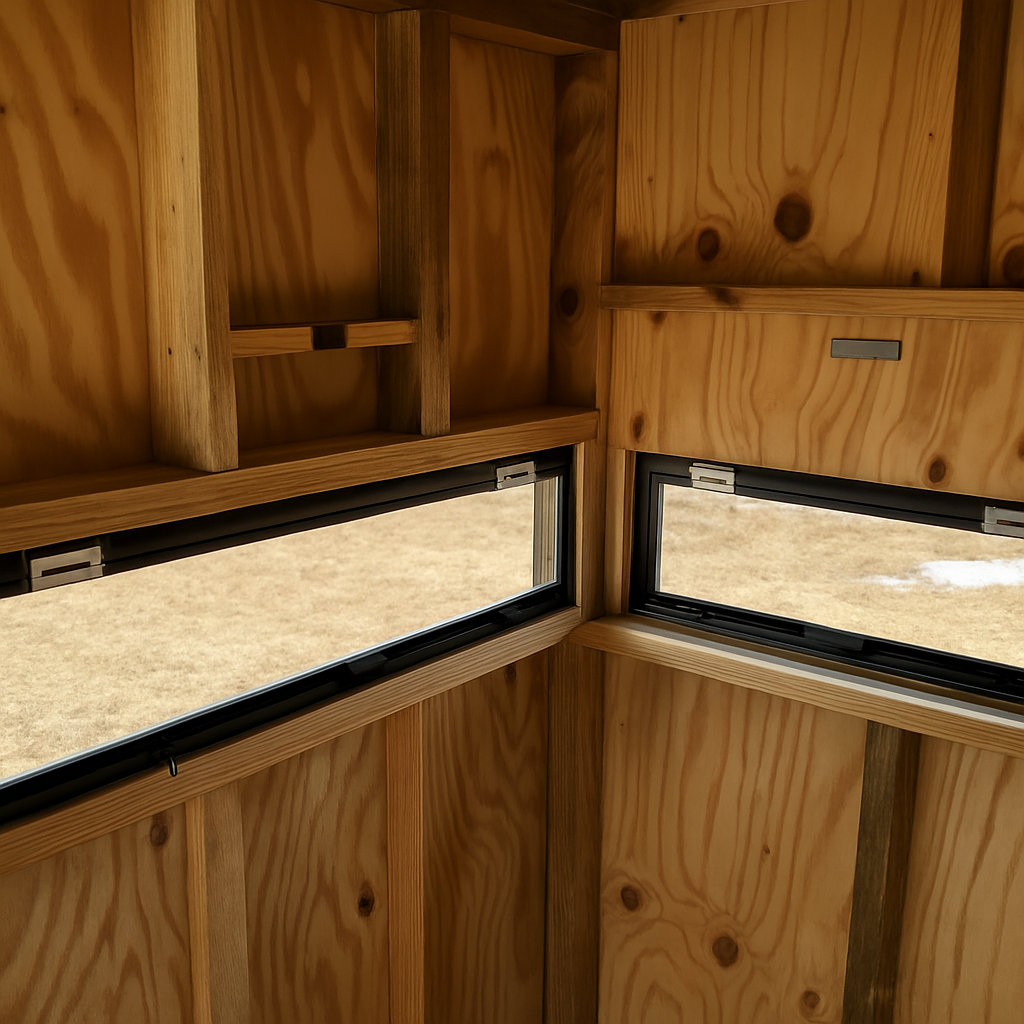
STEP 3: APPLY THE WEATHER GASKET
The window ships with a roll of self-adhesive perimeter weather gasket. Run a continuous bead of gasket around the inside perimeter of the cutout — this is what the window will press into when you install it.
Don't stretch the gasket as you apply it. Let it lay relaxed. A stretched gasket will pull back over time and create an air-leak gap. At the corners, miter-cut the gasket at a 45° angle so the four sides meet cleanly.
STEP 4: POSITION AND MOUNT THE WINDOW
Press the window firmly into the gasket. For frame windows, drive the included #10 or #12 self-tapping screws through the pre-drilled mounting holes in the frame, into the wall studs. Don't over-tighten — snug is enough. Over-tightening will deform the frame and break the gasket seal.
For glass hinge windows, fasten the hinge plate to the wall using the included screws. The hinge plate is what holds the window — the glass itself is supported by the pin hinge along one edge and floats on the gasket on the other three.
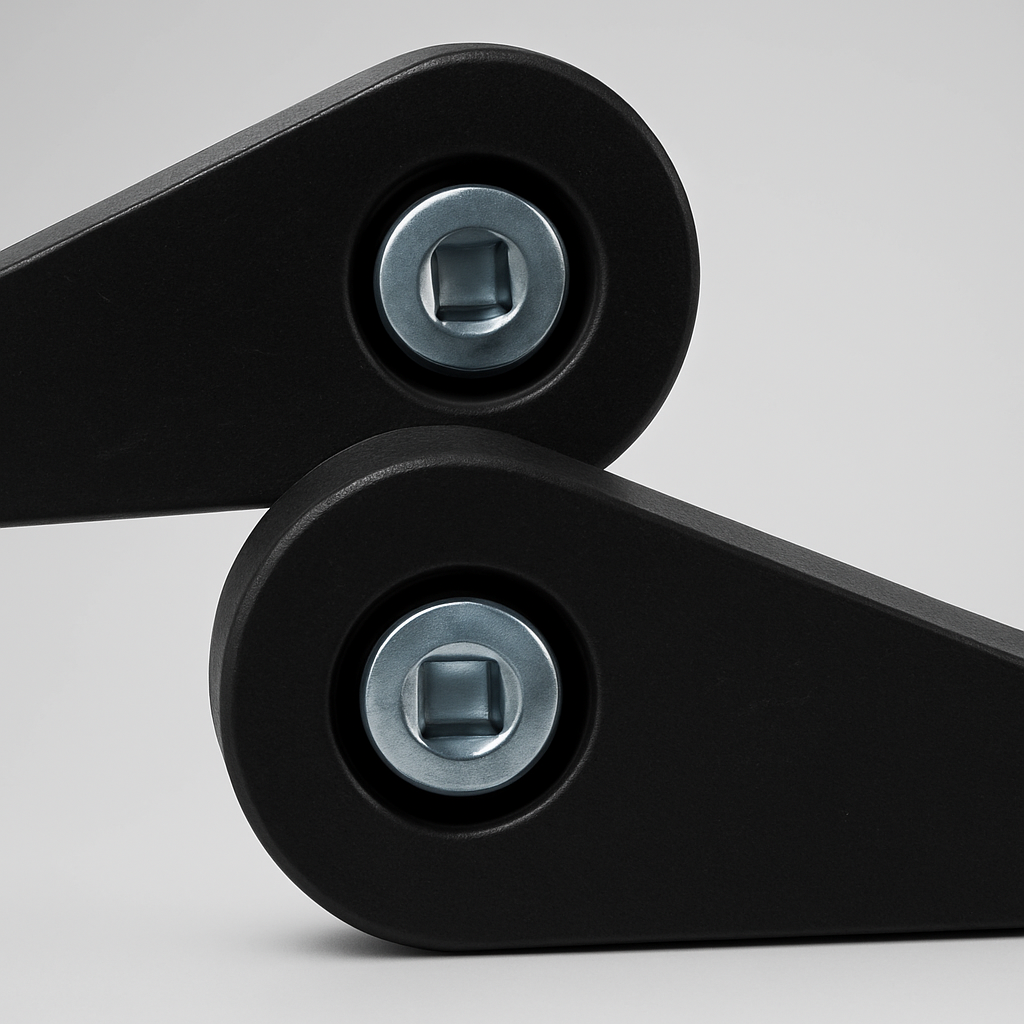
STEP 5: INSTALL THE LATCH OR TAB CLOSURES
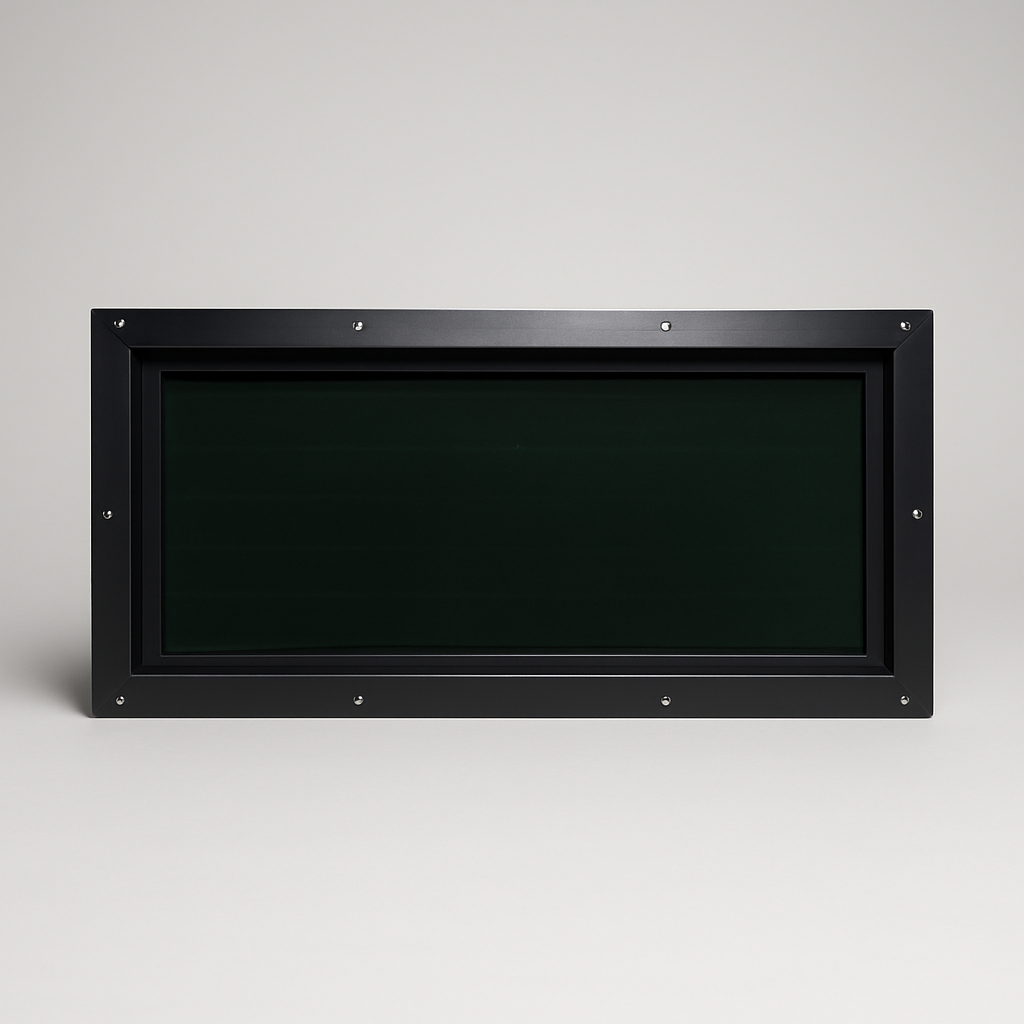
▸ FRAME WINDOWS
The one-handed latch on a frame window is pre-installed at the factory. Verify it engages cleanly when you close the window — you should feel a positive click as the cam seats into the receiver. If it's stiff, run a single drop of dry silicone lubricant on the cam (never WD-40 — it attracts dirt).
▸ GLASS HINGE WINDOWS
Glass hinge windows close against the wall but need a tab closure at the bottom edge to hold them closed against wind pressure. Install tab closures at roughly 18-inch intervals along the bottom edge of the window opening. For a 30-inch-wide window, two tabs is plenty; for a 42-inch-wide window, use three.
— FEATURED PRODUCT
Hunting Blind Window Tab Closures — Pack of 6
$59.95
Replacement tab closures for hunting blind windows — six per pack.
VIEW SPECS →STEP 6: TEST OPERATION
Open and close the window five full times. You're checking for three things:
- 01Smooth motion — no binding, no scraping, no squeak
- 02Clean seat — the window meets the gasket evenly along all four sides when closed
- 03Quiet operation — listen for the latch click on frame windows; glass hinge should be silent
If you find binding, recheck your diagonals and the gasket compression. If the window doesn't seat evenly, look for a shim point you missed in step 2.
STEP 7: FINAL EXTERIOR SEAL
Walk around to the outside of the blind and run a thin bead of exterior-grade silicone caulk around the perimeter of the window where it meets the wall. This is your belt-and-suspenders weather seal — the factory gasket handles 95% of the work, the silicone catches the rest.
Tool the caulk smooth with a wet finger or a caulk-finishing tool. Let it skin over for an hour before you let rain hit it, or 24 hours for full cure.
COMMON MISTAKES TO AVOID
- ▸Over-tightening the mounting screws. Snug is plenty. Over-tightening deforms the frame and breaks the gasket seal.
- ▸Stretching the gasket. It will pull back and leak. Let it lay relaxed.
- ▸Skipping the diagonal check. Costs five minutes, saves a season.
- ▸Using interior-grade caulk. Won't survive the temperature and UV. Use exterior-grade silicone only.
- ▸Forgetting tab closures on glass hinge. The window will swing open in the wind. Install at least two tabs per window.
- ▸Caulking before testing operation. Find binding issues first; caulk last.
WHEN TO CALL A PRO
Honestly, almost never. Hunting blind window installation is well within the capability of any hunter who's hung a kitchen cabinet or installed a screen door. The only time it's worth getting professional help is if your blind walls are out of square in a way that requires significant carpentry to fix — at that point, a local handyman or carpenter can address the underlying wall before you install the window.
Otherwise, this is a Saturday-afternoon job. Two windows in the morning, two windows after lunch, and you're done before sunset.
— FREQUENTLY ASKED
COMMON QUESTIONS HUNTERS ASK
- ▸ HOW LONG DOES IT TAKE TO INSTALL ONE HUNTING BLIND WINDOW?
- Glass hinge windows take about 10 minutes per cutout once you've done one. Frame windows take 15–20 minutes because of the heavier mounting and integrated latch alignment. Plan on a full afternoon for a typical 4-window blind retrofit if it's your first time.
- ▸ WHAT TOOLS DO I NEED TO INSTALL A HUNTING BLIND WINDOW?
- Basic tools: a cordless drill or impact driver, a #2 Phillips bit (and possibly a #3 for heavier frame screws), a tape measure, a framing square, a caulk gun, exterior-grade silicone, and the self-adhesive weather gasket that ships with the window. A second pair of hands helps for the larger 42-inch windows but isn't required.
- ▸ CAN I INSTALL A HUNTING BLIND WINDOW OVER AN EXISTING CUTOUT THAT'S SLIGHTLY OFF-SQUARE?
- Slight out-of-square (less than 1/4 inch) is fine — the gasket and weatherstrip absorb the gap. More than 1/4 inch and you'll get an air leak; sand the high corner or shim the low corner before installing. Don't try to force a square window into a wonky cutout — you'll crack the glass.
- ▸ DO I NEED TO SEAL THE WINDOW WITH SILICONE IF IT HAS A PERIMETER GASKET?
- We recommend a final exterior bead of silicone caulk around the outside of the window for any blind that sees driving rain. The factory gasket handles most weather; the silicone is a belt-and-suspenders backup that costs $5 and adds 5 minutes to the install.