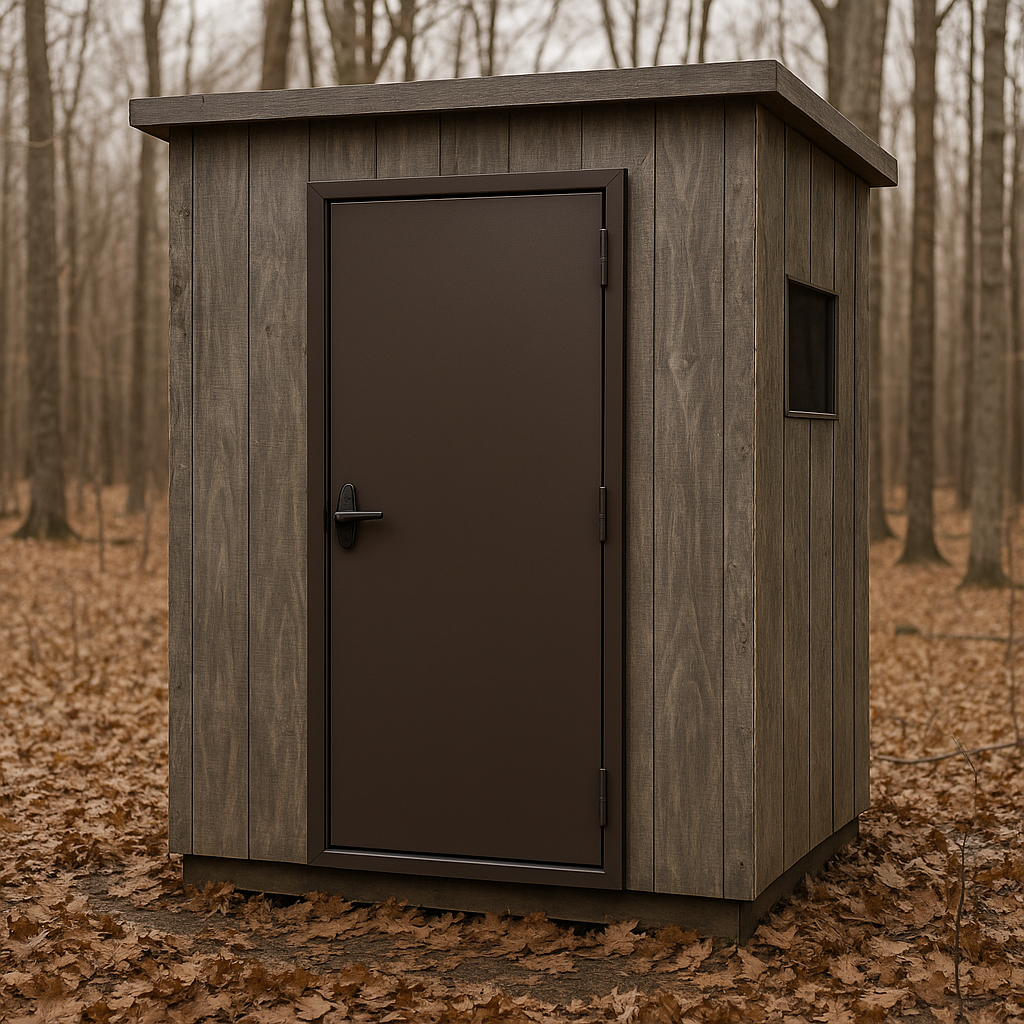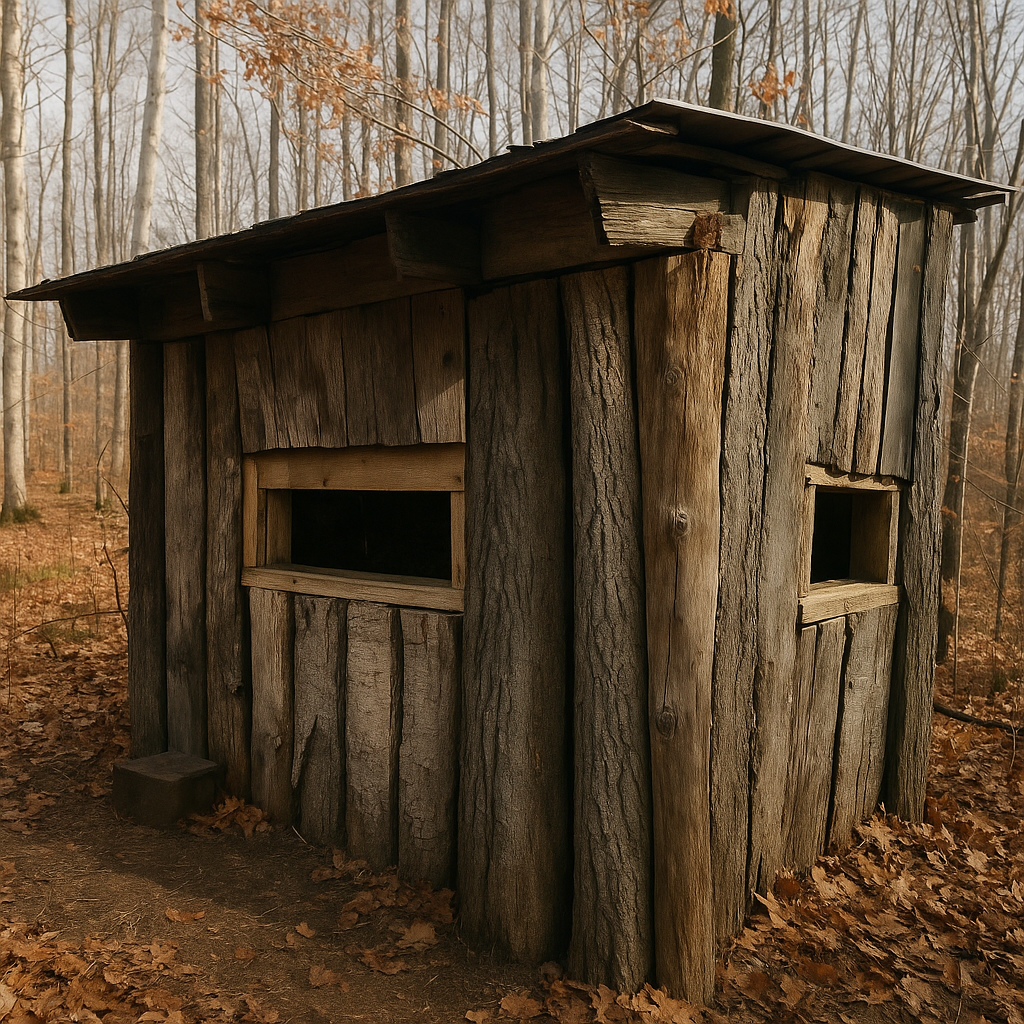
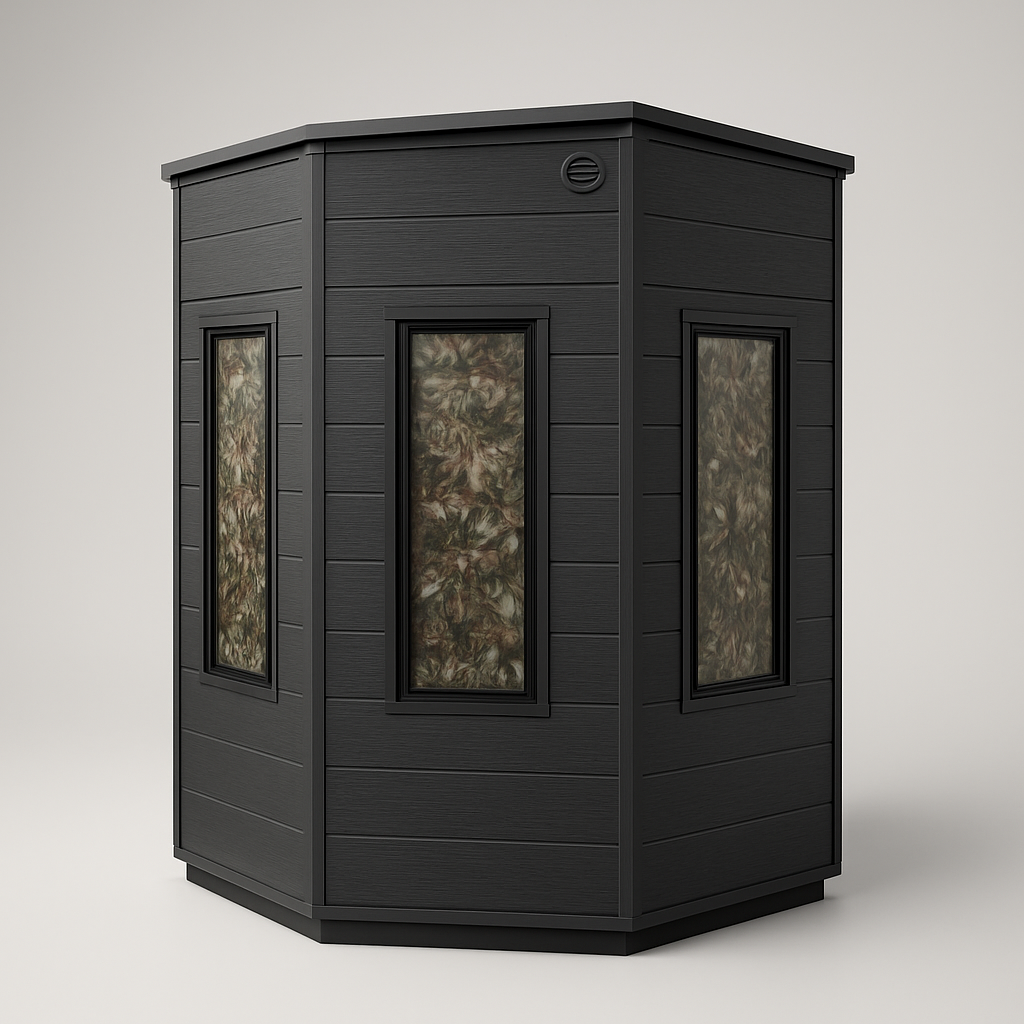
Every blind in the field is fighting weather and time at the same rate. Five seasons in, even a quality blind has compromised seals somewhere — the windows leak a little, the door whistles in cross-wind, the roof drips during heavy rain. None of these failures are fatal individually. Stack three or four of them and you've got a cold, wet, drafty box that costs you sits.
This is the pre-season weatherproofing checklist we run on our own blinds. About an hour with a flashlight and a notebook, then a Saturday afternoon making the actual fixes. The list is ranked by how often each thing fails — start at the top.
THE 60-MINUTE INSPECTION
Bring a flashlight, a notebook, and a pen. You're looking for failures in eight specific places, in this order:
- 01Window weatherstripping — the #1 failure point
- 02Window glass and frames — cracks, warps, broken latches
- 03Door weatherstrip and threshold sweep
- 04Door latch and hinges
- 05Roof seams and penetrations
- 06Wall corner seams
- 07Floor seams and penetrations
- 08Curtain or concealment film integrity
For each one, write down what you find — even minor stuff. A list of six small fixes is faster to knock out in one trip than six trips for one fix each.
1. WINDOW WEATHERSTRIPPING
Close every window. Run your hand around the entire perimeter of each window from inside the blind. You're feeling for drafts — any movement of air from outside indicates the gasket is compressed, torn, or has fallen out of its channel.
▸ HOW TO FIX
If the gasket is intact but compressed flat, pull it out and replace it. If it's torn or partially missing, replace the affected section. Replacement gasket runs roughly $5–$10 per window and takes 15–20 minutes per window:
- 01Open the window and pull the old gasket out of its channel by hand
- 02Wipe the channel clean with a rag and a little rubbing alcohol
- 03Lay in fresh gasket — let it relax, don't stretch
- 04Close the window and verify even compression around the perimeter
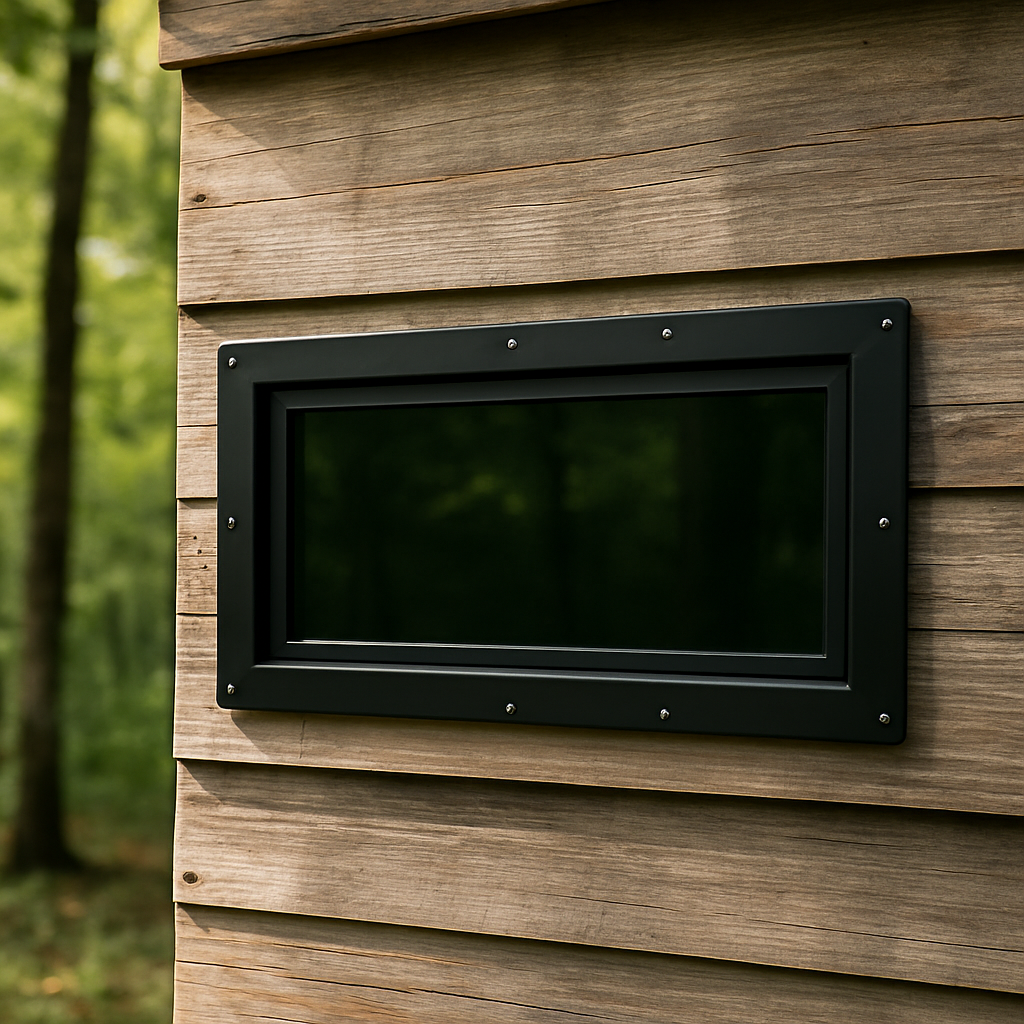
2. WINDOW GLASS, FRAMES, AND LATCHES
Look at each window from outside the blind in good light. You're checking for:
- ▸Glass cracks — even hairline cracks compromise the strength of tempered glass; replace the entire window if you find one
- ▸Frame warp — sight along each edge of the frame from the corner; deviations of more than 1/8 inch indicate warping that's likely terminal
- ▸Latch operation — open and close from outside; should feel positive and quiet. A worn latch can be replaced; a worn frame around the latch usually means the whole window
- ▸Hinge play — for glass hinge windows, grip the glass and try to wiggle it. More than 1/8 inch of play means the hinge needs tightening or replacement
If the frame is square, the glass is intact, and the hinge is solid, the window is good for many more seasons with just gasket replacement. If any of those fail, replace the whole window — it's not worth band-aiding a structural failure.
— FEATURED PRODUCT
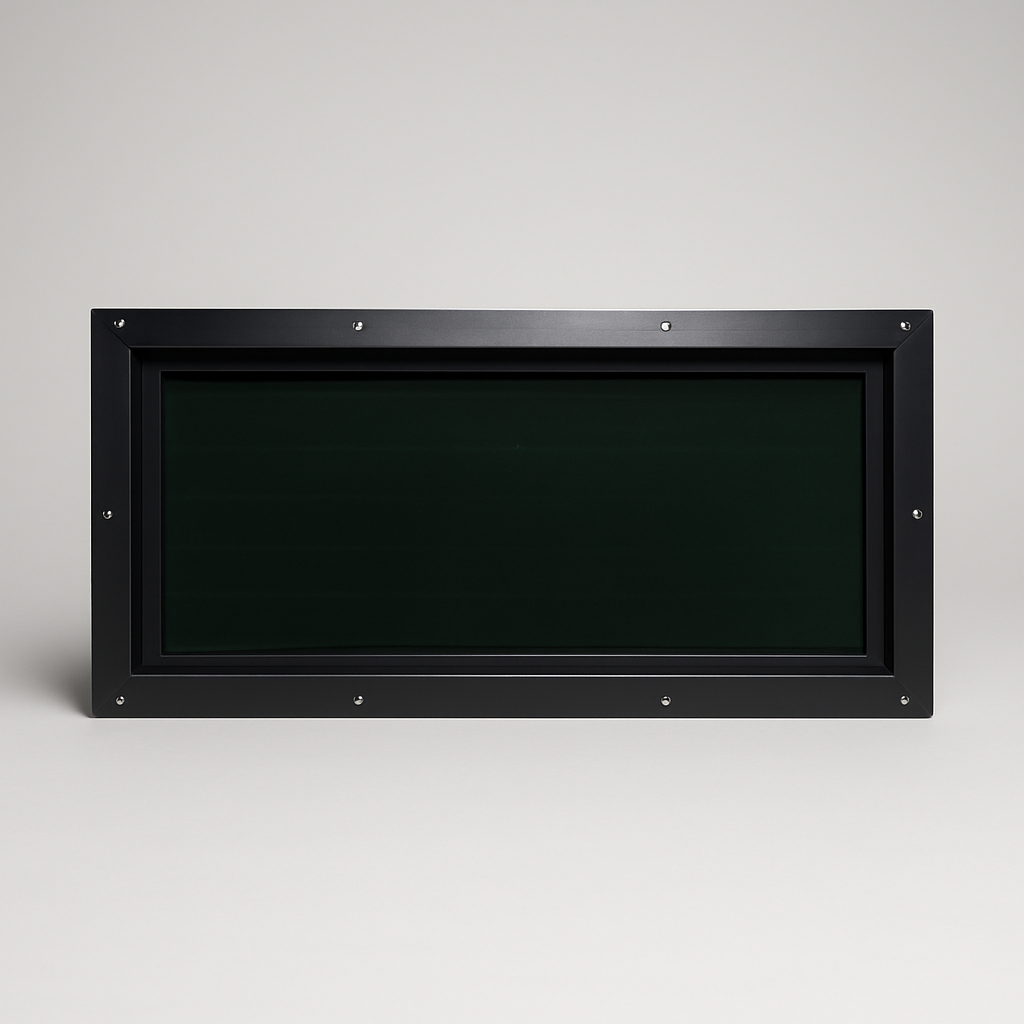
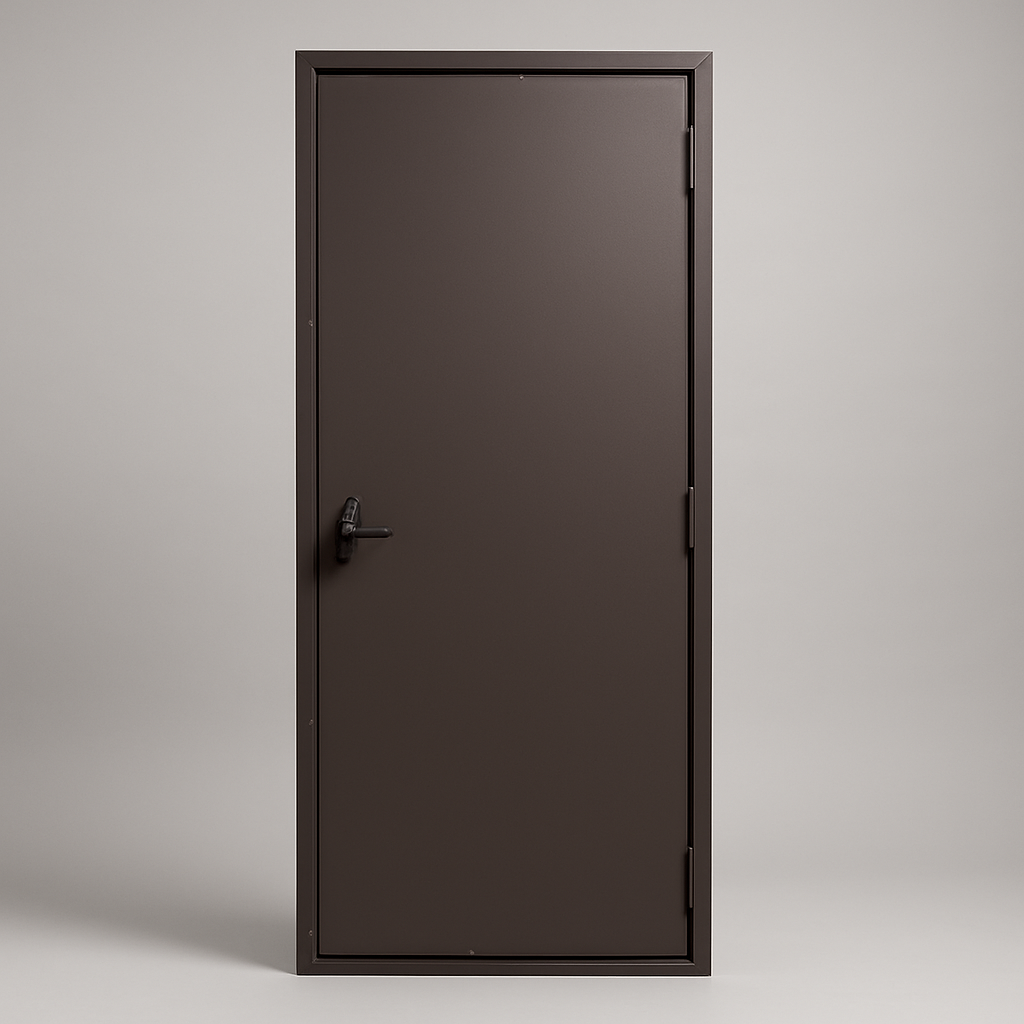
30″ × 14″ Tinted Frame Hunting Blind Window
$259.95
Tinted combo-blind frame window — bow-draw clearance with tinted concealment.
VIEW SPECS →3. DOOR WEATHERSTRIP AND THRESHOLD
Same draft-test as the windows but on the door. Close the door and run a hand around the entire perimeter. The bottom is the most-failed section — ground-level brush sweeps wear out fast.
Replacement EPDM strip is sold by the foot at any hardware store. Pull the old, clean the channel, install the new. Brush sweeps for the door bottom are sold as a complete kit — pull the old, screw on the new.
4. DOOR LATCH, HINGES, AND STRIKE PLATE
Open and close the door from outside ten times. You're listening for:
- ▸Squeak — hinges need oil; use a dry silicone or graphite lubricant, never WD-40 (attracts dirt)
- ▸Wobble — hinge fasteners are loose or the hinges themselves are sagging; tighten fasteners first, replace hinges if tightening doesn't fix it
- ▸Latch difficulty — if the latch is hard to engage, the strike plate may have shifted or the door may be sagging into a misaligned position
- ▸Click — a loud latch click means the spring detent is wearing out; consider an upgrade to a deadbolt-style cam latch
5. ROOF SEAMS AND PENETRATIONS
Get up there with a flashlight and look at every seam where two roof panels meet, every fastener penetration, and every spot where the roof meets a wall. You're looking for:
- ▸Cracked caulk lines — the most common roof failure. Pull old caulk, clean, re-bead with exterior-grade silicone
- ▸Lifted shingle edges — re-adhere with roofing cement
- ▸Loose fasteners — tighten; if the wood beneath is rotten, install new fasteners 1" from the old position
- ▸Penetration boots — vent stacks or chimney boots crack with UV exposure; replace boots that show any visible cracking
Roof leaks are the worst kind of blind failure because the water tracks down the inside of the wall and you don't see it until it's already done damage. Inspect every season.
6. WALL CORNER SEAMS
Walk the perimeter of the blind and look at every vertical corner seam. Caulk lines on exterior corners crack with thermal cycling — if you see any cracks, scrape the old caulk and re-bead. This is a 30-minute job for a typical 6×6 blind and prevents the corners from being the wind-funnel they otherwise become.
7. FLOOR SEAMS AND PENETRATIONS
Inspect the floor from underneath the blind. You're checking for:
- ▸Rot or moisture damage in the bottom plate or floor joists — common where water has been pooling
- ▸Penetrations from underneath — animals (mice, squirrels) chew through soft spots; patch with hardware cloth and silicone
- ▸Floor seam caulk — re-bead any cracked seams from above (inside the blind)
8. CURTAIN OR CONCEALMENT FILM
Curtain kits and camo film both wear over time — UV exposure fades the camo, dust binds the slide tracks, and accidental tears in the film accumulate. Pre-season is the right time to:
- ▸Replace any torn or faded camo film — the static-cling installation makes seasonal swaps trivial
- ▸Test slide tracks on curtain kits — if any binding, pull the curtain and clean the track with a dry cloth
- ▸Inspect curtain stitching — pre-hemmed kits should have intact stitching all the way around
— FEATURED PRODUCT
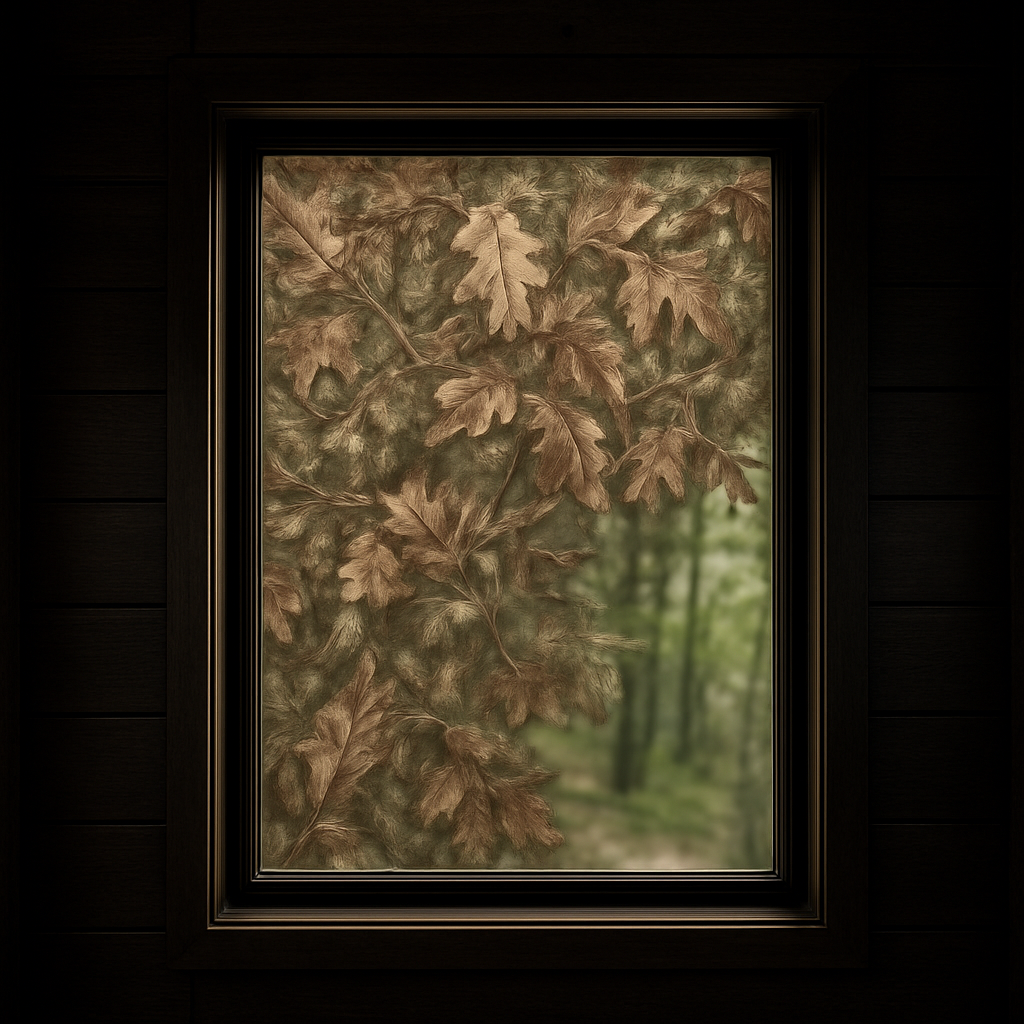
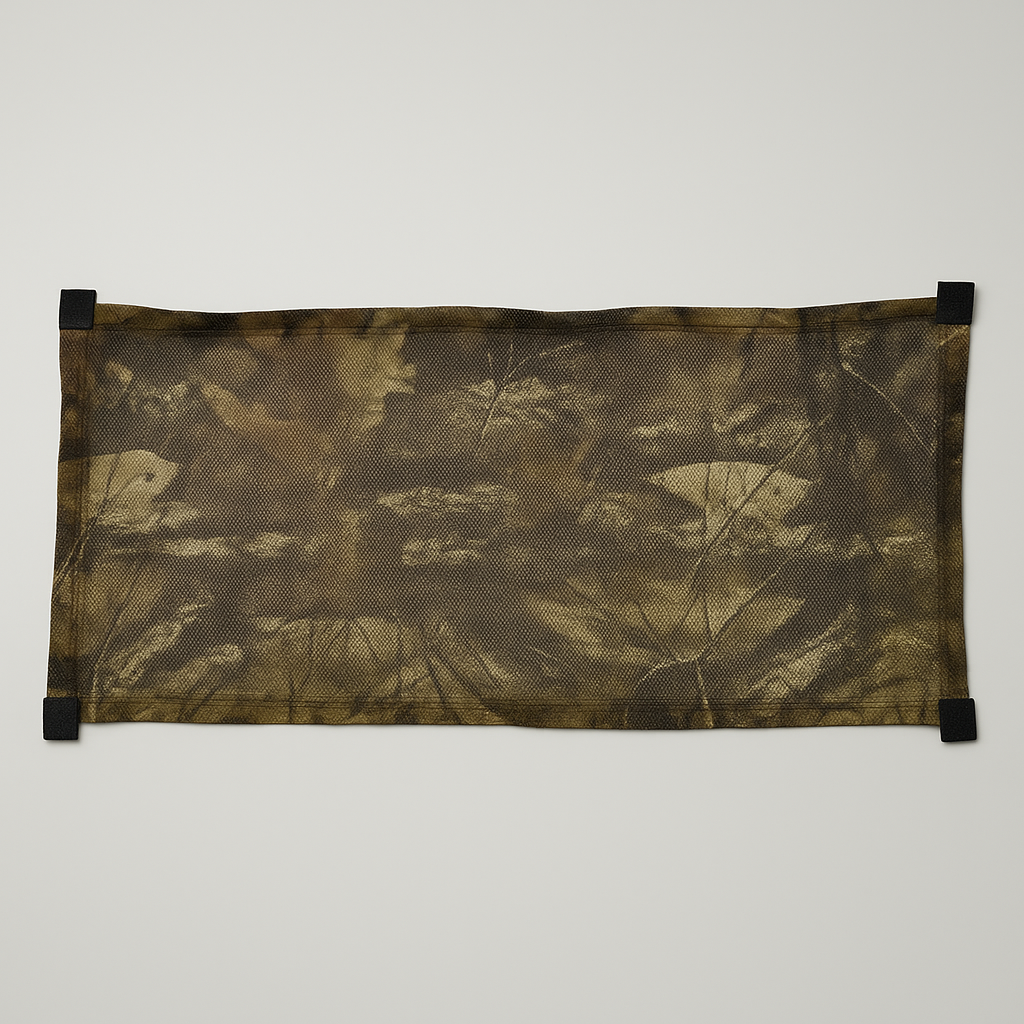
Camo Window Film — Static-Cling Concealment
$59.95
$119.95
Static-cling camo window film for hunting blinds — instant concealment, zero adhesive.
VIEW SPECS →PRE-SEASON MAINTENANCE SCHEDULE
| TASK | HOW OFTEN | BEST TIME |
|---|---|---|
| Window weatherstrip check | Every season | Late summer |
| Door weatherstrip + sweep | Every season | Late summer |
| Roof seam re-caulk | Every 2 seasons | Late summer (cure time) |
| Wall corner seam re-caulk | Every 2-3 seasons | Late summer |
| Hinge lubrication | Every season | Late summer |
| Latch lubrication | Every season | Late summer |
| Curtain wash + track clean | Every season | Late summer |
| Camo film replacement | Every 2-3 seasons | Late summer |
| Full structural inspection | Annually | Late summer |
WHEN TO REPLACE VS REPAIR
Some failures are obvious replace-don't-repair situations:
- ▸Cracked tempered glass — replace the window
- ▸Warped frame — replace the window
- ▸Sagging door that won't close cleanly — replace the door
- ▸Roof rot — patch only buys you a season; plan for replacement
- ▸Floor joist rot — structural; either replace the joist or replace the blind
Most other failures are cheap fixes if you catch them early. The 60-minute inspection is the work of finding things while they're still cheap to fix.
— FREQUENTLY ASKED
COMMON QUESTIONS HUNTERS ASK
- ▸ WHEN SHOULD I WEATHERPROOF MY HUNTING BLIND?
- Late summer is ideal — 6–8 weeks before opening day. That gives caulk and silicone time to fully cure, leaves time for a parts order to ship if you find a major failure, and doesn't put you on a roof during the rain. The worst time is the week of opening day; you'll discover the leak you missed during the first sit.
- ▸ WHAT'S THE MOST COMMON FAILURE POINT ON AN OLD HUNTING BLIND?
- The window weatherstripping. It's exposed to the most weather and the most cycling, and it's the part most often skipped in maintenance. Run a hand around every window perimeter on the inside while the window is closed — if you feel any draft, the strip is shot. Replacement gasket is cheap; the value of a sealed sit is high.
- ▸ CAN I JUST CAULK OVER OLD WEATHERSTRIPPING?
- No. Caulking over compressed or torn weatherstrip locks it in a deformed shape and accelerates failure. Pull the old strip, clean the surface, and install fresh strip. It's a 20-minute job per window and the right way to fix it.
- ▸ HOW OFTEN SHOULD I REPLACE BLIND WINDOWS ENTIRELY?
- If the window is structurally sound (frame square, glass intact, hinge functional) and only the weatherstrip has failed, just replace the strip. Plan on full window replacement when the frame warps, the glass cracks, or the hinge fails. With proper maintenance a quality hunting blind window will last 20+ years.